
SO, LATELY I’VE BEEN OBSESSED WITH MACARONS. IT STARTED WITH ME CRAVING SOME BUT NOT WANTING TO GO OUT TO BUY ANY. NOT TO MENTION HOW EXPENSIVE THEY ARE! SO I THOUGHT “WHY NOT MAKE SOME MYSELF?”
FAST FORWARD 3 DAYS, 5 BATCHES AND A DESTROYED KITCHEN, AND I’VE THINK I’VE GOT IT DOWN…SORT OF. WHILE IT’S DEFINITELY NOT THE INSTAGRAM-WORTHY MACARON, IT IS DELICIOUS.
I have always loved baking. Cooking? Not so much. But for some reason, my heart belongs to baking. Which is weird, because I am NOT methodical or precise in any way or form. There’s just something about looking at your finished product in all its sprinkle-topped glory and reveling in its beauty, and then to be able to sink your teeth into it is just icing on the cake (quite literally!).
So I was really wanting to try my hand at making my own macarons. The light, airy chewy texture and the tart/sweet filling was something I can always be into. There are soooo many recipes online, I wasn’t sure where to start. I decided on Tasty’s recipe because it had the most reviews and high ratings. My son is allergic to nuts, however, so I wanted to substitute with sunflower flour. (That’s apparently a thing!) Unfortunately, I couldn’t find sunflower flour anywhere, and I was too lazy to actually process sunflowers myself when I wasn’t even sure I could make a macaron at all the traditional way. (I plan on trying a sunflower macaron later, which I will be sure to share!)
A lot of tips and tricks I came across on the internet suggests a lot of precise measurements, measuring out grams of ingredients. Tasty’s recipe is not that precise. They just use cups and teaspoons. Maybe that’s why my macarons don’t rise exactly like they are supposed to.
The key to good feet on your macarons is to let it dry thoroughly before baking.
Processing your flour and sugar in a food processor seems really redundant to me and is the most time consuming, but every recipe calls for that so that was a step I couldn’t really skip. (Because, let’s be honest, I’m pretty lazy and the less steps and less cleanup afterwards I have to do, the better!) After processing already processed flour (yes, I’m bitter about this), you have to sift it. I definitely recommend getting a sifter. It goes by way faster than hitting a sieve against a bowl or your hand over and over again!
I used a circle template that I found online to pipe my macarons. I’m sure a real baker could just eyeball it, but I am not about to pretend I’m that good.

After you bake your macarons, make sure they cool completely before adding the filling. This is the fun part! I love coming up with different flavor combinations. For example, you can add lavender extract or syrup to some buttercream frosting for a nice, delicate floral finish. Or if you are wanting something tart, add some raspberry extract and lemon juice to your cream filling. The sky is the limit! Since the filling isn’t an exact science, just experiment and have fun with it!
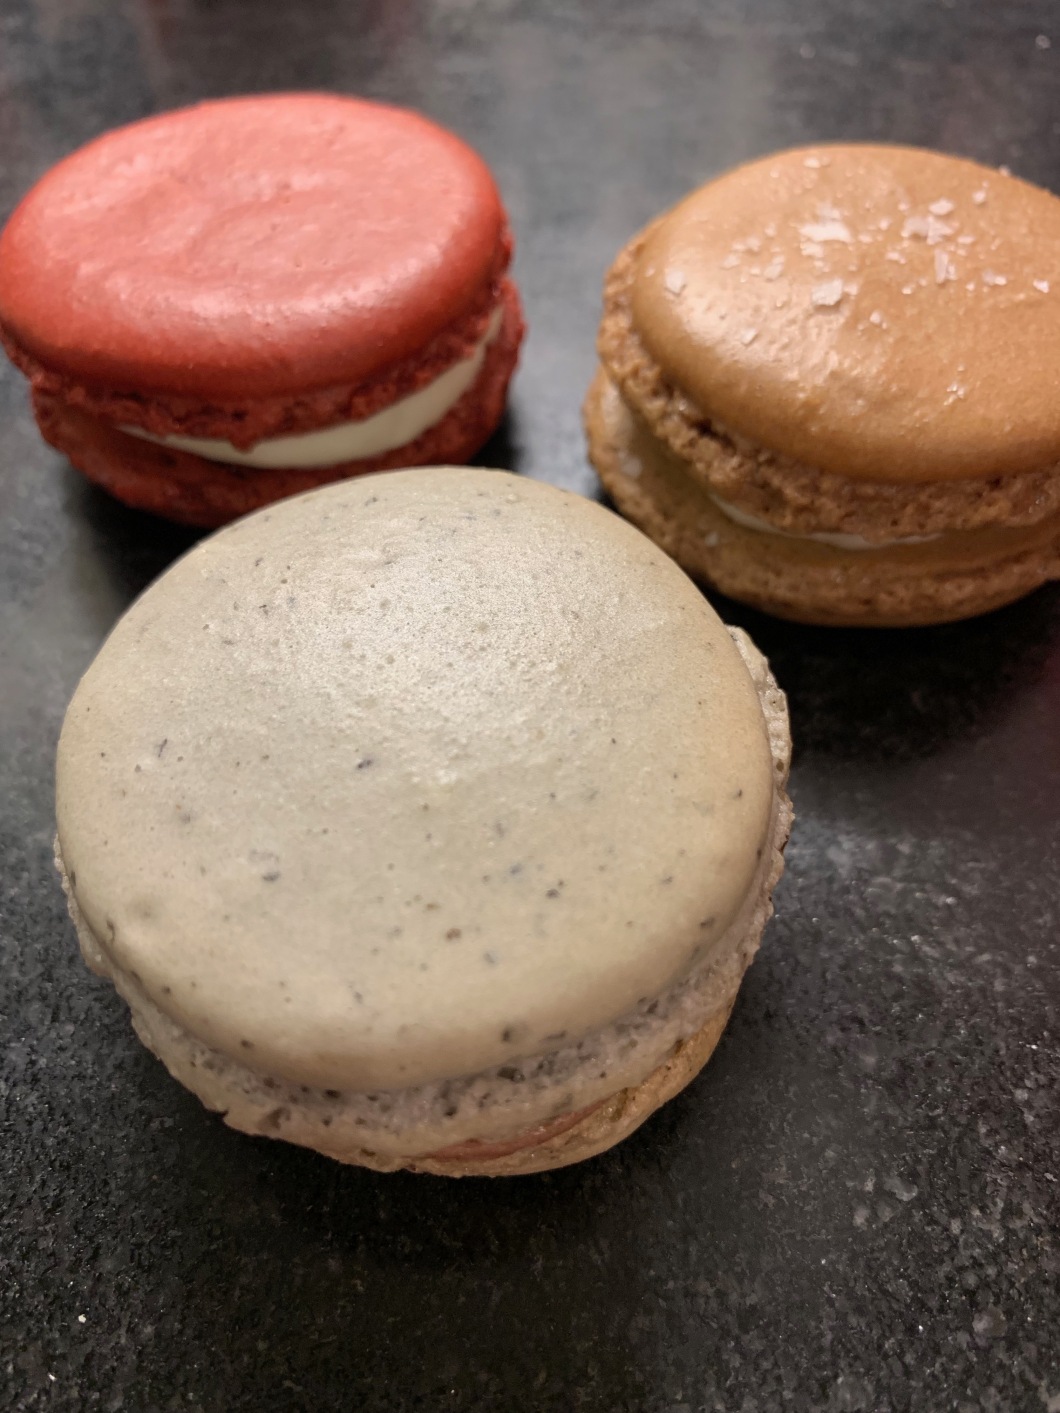
For my macarons, I did a red velvet by adding cocoa powder in the cookie and using a premade (shortcut!) cream cheese icing. The earl grey was made by adding two earl grey tea packets to the cookie, and I did a raspberry cream filling. (This flavor combo was by far my favorite!) Lastly, the salted caramel was done by adding cocoa to the cookie and caramel syrup to the filling. I also garnished it with some sea salt that I added AFTER the macaron “dough” was piped out and dried but BEFORE baking it. Be sure not to add any garnishes before the dough is dried or else the cookie will crack and won’t rise like it’s supposed to.
The best part of macarons? There is so many different combinations to experiment with! What flavors are you guys most excited to try? Let me know!
Creatively,
Alice
Please follow and like us: